水族箱控制器 : Arduino 三部曲
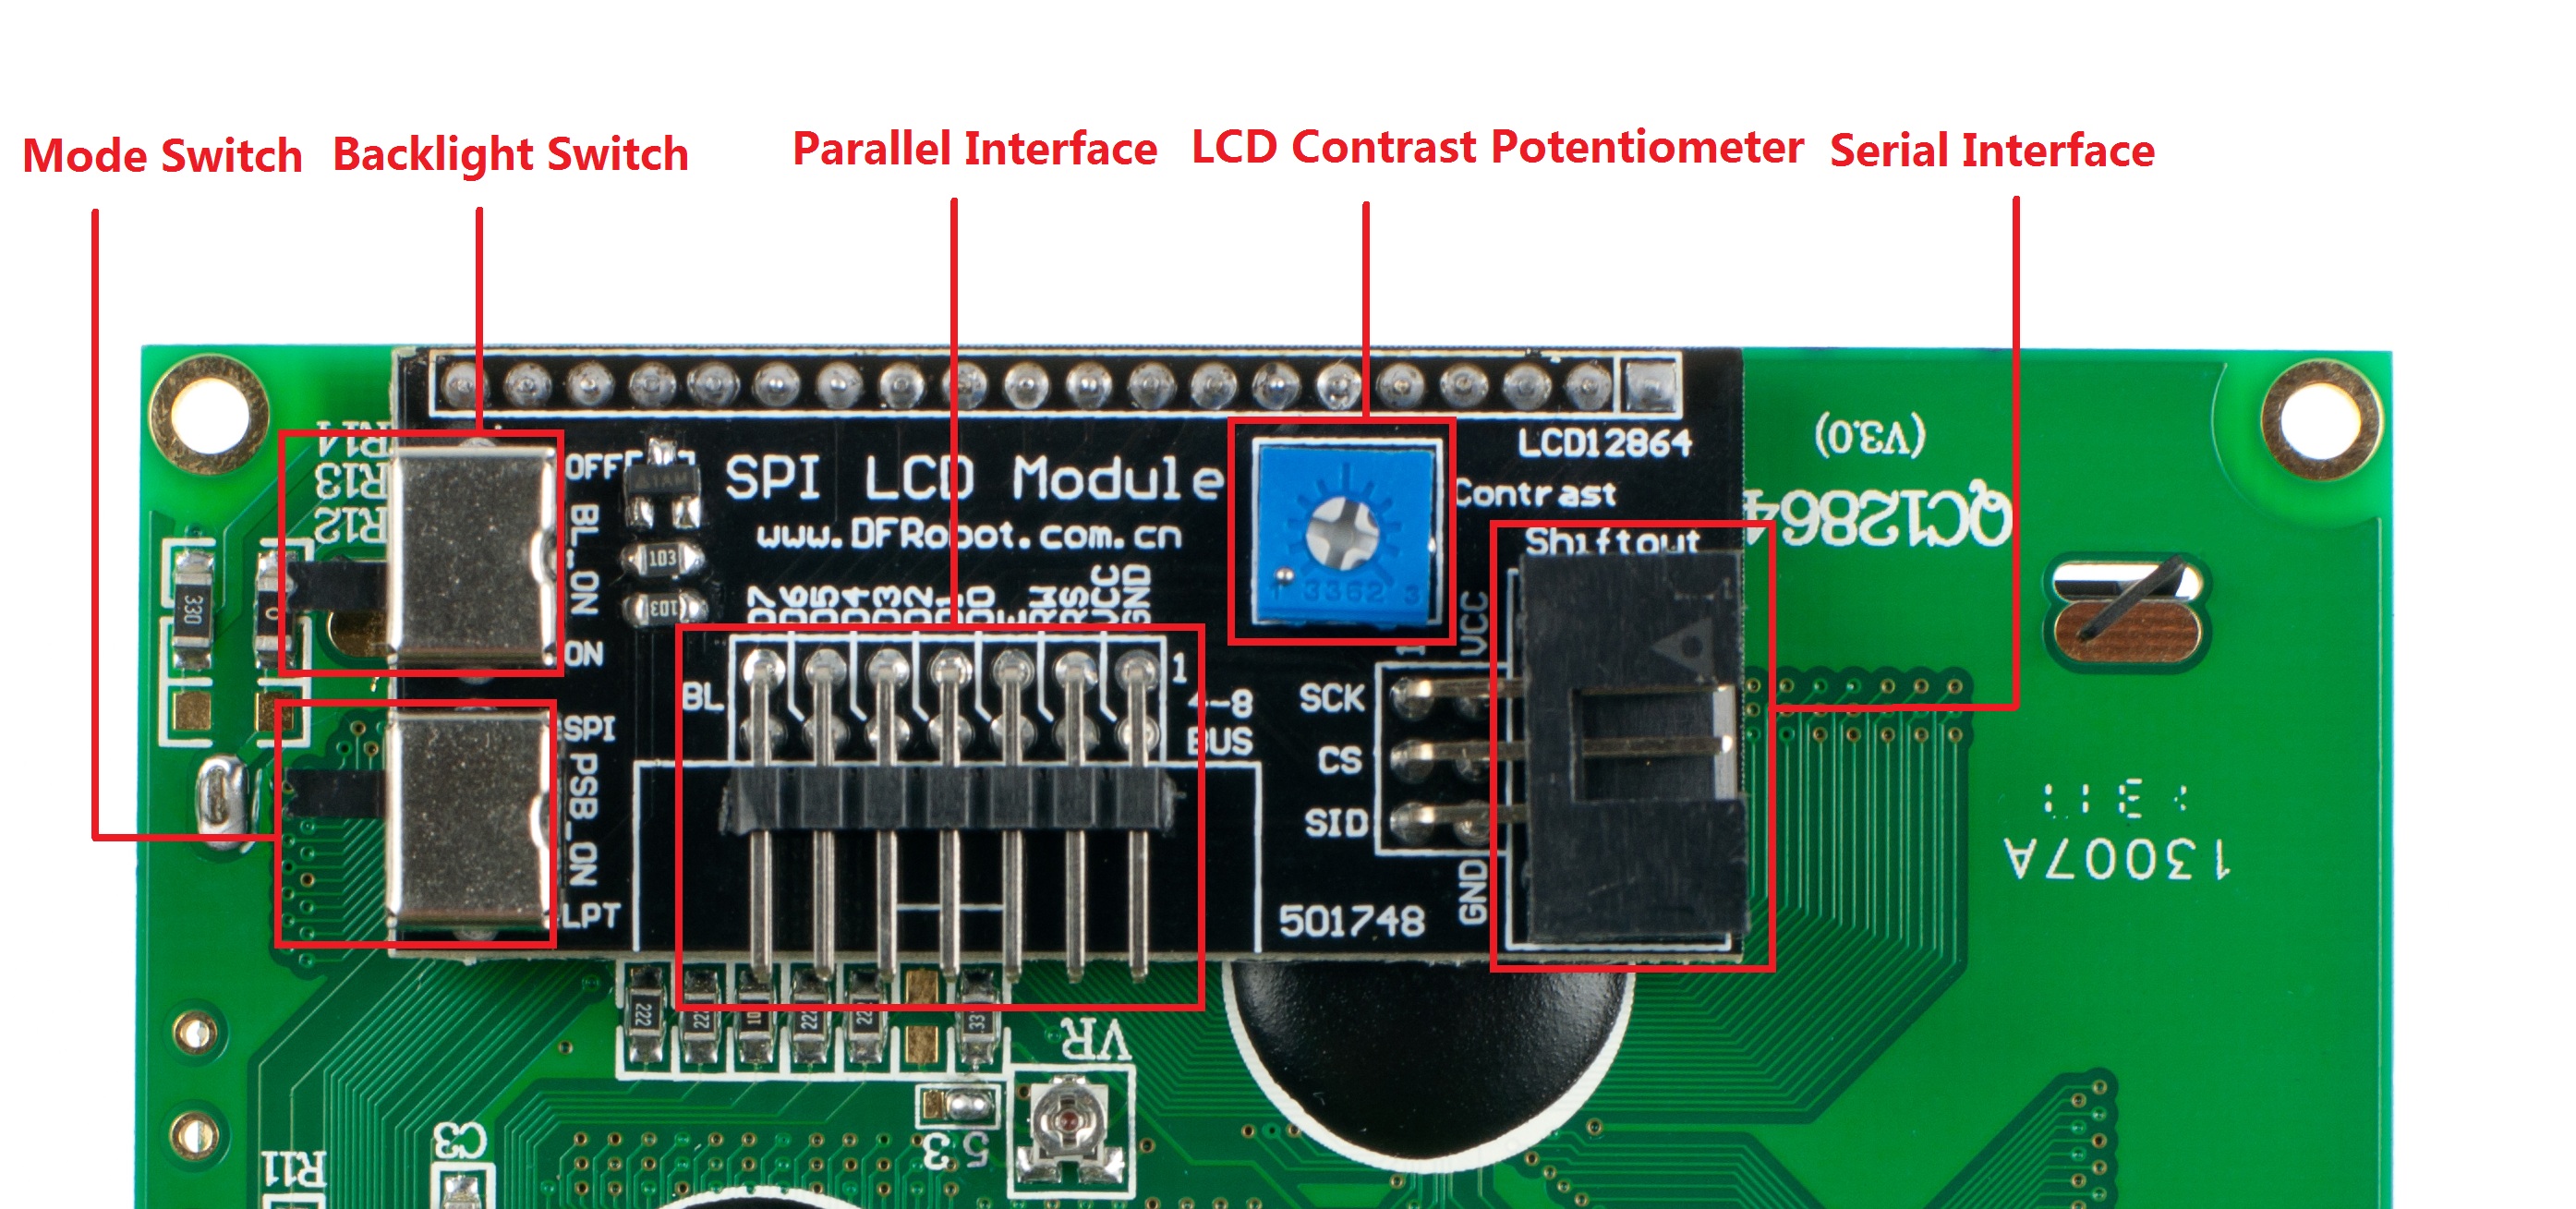 |
| 原圖:http://www.dfrobot.com/wiki/images/4/43/DFR0091_CD.jpg |
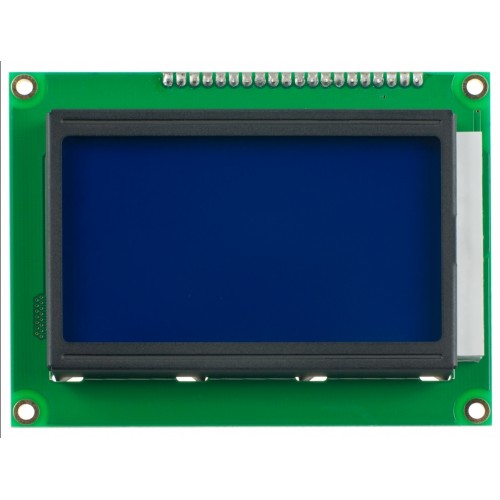 |
| 原圖:http://www.dfrobot.com.cn/image/cache/data/DFR0091/DFR0091-500x500.jpg |
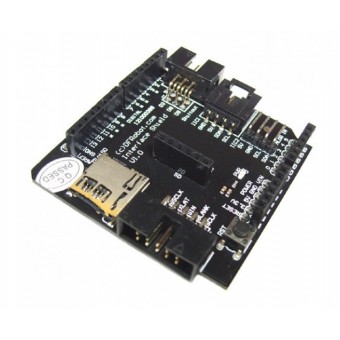 |
| 原圖:http://www.dfrobot.com.cn/image/cache/data/DFR0074/2-340x340.jpg |
- IIC:Analog 4,5
- Shiftout:Digital 3,8,9
- TLC:Digital 3,9,10,11,13
- SD:Digital 10,11,12,13
D:\arduino-1.0.1\libraries\LCD12864RSPI\LCD12864RSPI.cpp:75: error: 'digitalWrite' was not declared in this scope
我想這應該是我已經用 Arduino 1.0.1,廠家給的測試程式是舊的,打開原廠的 LCD12864RSPI_h ,原始的宣告前幾行:
//Demo LCD12864 spi
//www.dfrobot.com
#ifndef LCD12864RSPI_h
#define LCD12864RSPI_h
#include <avr/pgmspace.h>
#include <inttypes.h>
在#clude 的最後一行加上:
#include <Arduino.h>
再重新編譯程式 ,錯誤訊息就消失了。
#include <Wire.h>
#include <Rtc_Pcf8563.h>
/* add the lcd support */
#include "LCD12864RSPI.h"
//init the real time clock
Rtc_Pcf8563 rtc;
void setup()
{
// set up the LCD's number of rows and columns:
LCDA.Initialise(); // INIT SCREEN
delay(1000);
LCDA.CLEAR();
//clear out all the registers
rtc.initClock();
//set a time to start with.
//day, weekday, month, century, year
rtc.setDate(13, 3, 6, 0, 12);
//hr, min, sec
rtc.setTime(13, 42, 40);
}
void loop()
{
char datetime[16] = " ";
strncat(datetime,rtc.formatDate(),5);
strcat(datetime," ");
strcat(datetime,rtc.formatTime());
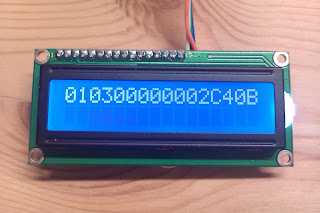
LCDA.DisplayString(0,0,(unsigned char*) datetime,strlen(datetime));
delay(1000);
}
dtostrf(floatVar, minStringWidthIncDecimalPoint, numVarsAfterDecimal, charBuf);
重新編譯溫度就顯示出來了。

目前的程式:
#include <Wire.h>
#include <OneWire.h>
#include <Rtc_Pcf8563.h>
/* add the lcd support */
#include "LCD12864RSPI.h"
//init the real time clock

Rtc_Pcf8563 rtc;
OneWire  ds(10);

/* initialize the library objects */

void setup()
{
  Serial.begin(9600);
  LCDA.Initialise(); // INIT SCREEN
  delay(1000);
  LCDA.CLEAR();
//
  rtc.initClock();
  rtc.setDate(13, 3, 6, 0, 12);
  rtc.setTime(13, 42, 40);
}

void loop()
{
  char datetime[16] = " ";
  char tempature[8];
  byte addr[8];
  float celsius;
  byte present = 0;
  byte i;
  byte data[12];
  byte type_s;

 if ( !ds.search(addr)) {
    // LCDA.DisplayString(1,0,(unsigned char *) "error",5);
    ds.reset_search();
    delay(250);
    return;
  }

  ds.reset();
  ds.select(addr);
  ds.write(0x44,1);         // start conversion, with parasite power on at the end

  delay(1000);

  present = ds.reset();
  ds.select(addr);
  ds.write(0xBE);

  for ( i = 0; i < 9; i++) {           // we need 9 bytes
    data[i] = ds.read();
    // Serial.print(data[i], HEX);
    // Serial.print(" ");
  }

    unsigned int raw = (data[1] << 8) | data[0];
  if (type_s) {
    raw = raw << 3; // 9 bit resolution default
    if (data[7] == 0x10) {
      // count remain gives full 12 bit resolution
      raw = (raw & 0xFFF0) + 12 - data[6];
    }
  } else {
    byte cfg = (data[4] & 0x60);
    if (cfg == 0x00) raw = raw << 3;  // 9 bit resolution, 93.75 ms
    else if (cfg == 0x20) raw = raw << 2; // 10 bit res, 187.5 ms
    else if (cfg == 0x40) raw = raw << 1; // 11 bit res, 375 ms
    // default is 12 bit resolution, 750 ms conversion time
  }
  celsius = (float)raw / 16.0;
  // Serial.print(celsius);
  dtostrf(celsius,5,2,tempature);
  strncat(datetime,rtc.formatDate(),5);
  strcat(datetime," ");
  strcat(datetime,rtc.formatTime());
  LCDA.DisplayString(0,0,(unsigned char*) datetime,strlen(datetime));
  LCDA.DisplayString(1,0,(unsigned char *) tempature,strlen(tempature));

  delay(1000);
  }


留言
張貼留言
請多指教